It has become something of a cliche that people purchase the incredible Raspberry Pi single-board PC, briefly play around with it, then throw it to the back of a cupboard to be forgotten about. I know far too many people for whom this is the case, and this is partly the reason I refused to buy one for so long, because I assumed it would likely meet the same fate in my own house.
However, I started using Kodi as a media centre around 18 months ago and had been relying on a cheap eBay Android/Kodi box for a while now. Yet despite these being incredibly convenient I didn’t really trust them at all. Things improved slightly when trading standards in the UK started cracking down on sellers loading illegal streaming addons onto the devices, as these frequently included malware or simply slowed the box down with crap code, and I’d always have to wipe and reinstall a fresh instance of Kodi before being able to use them.
Despite this, the underlying Android-based operating systems on these boxes are a big unknown. There’s a significant risk I could be DDoS-ing a website somewhere without necessarily knowing it, just by having it connected to my network. As someone who works in the IT industry, this would be somewhat embarrassing. These boxes can also be electrically unsafe (well, the power adapters certainly can) and tend to also suffer with poor performance in general. So I started looking for a solution, and Raspberry Pi was the clear choice.
Whilst investigating the various operating systems available for the Raspberry Pi, I came up with the idea of creating a combination media center running Kodi, and a retro gaming console. There are various systems which can be installed and dual-booted using NOOBS (the standard OS included with most Raspberry Pi kits). There are standard desktop systems like Raspian, educational packages, media centres like OpenELEC, gaming systems like Recalbox, and so many more. However some of these seemed fairly limited in what they could do, and many operating systems I found couldn’t also handle the dual-booting with Kodi which was essential to me.
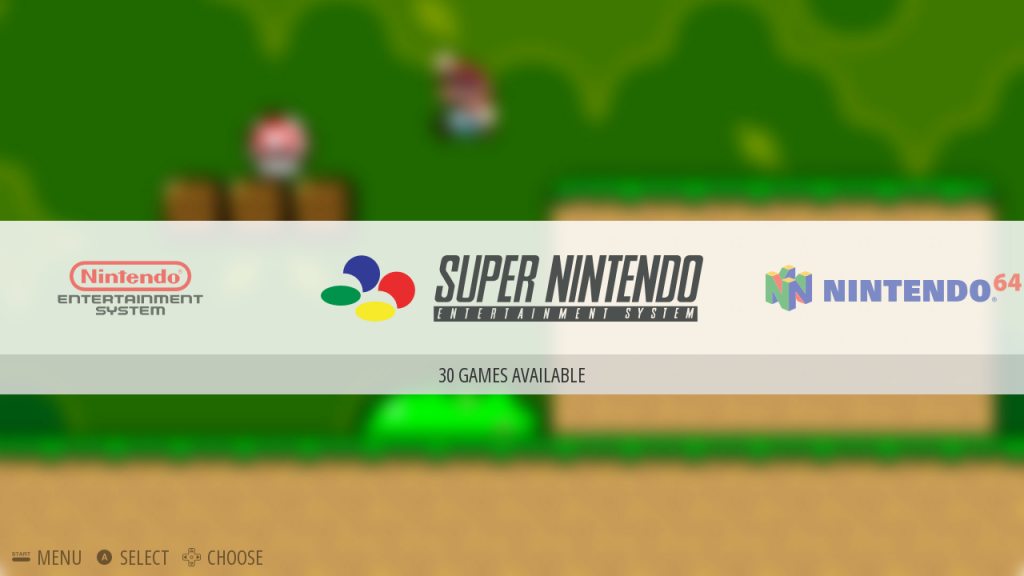
I eventually settled on RetroPie, which supports emulators for over 50 systems. It is based on Raspbian as the OS, with EmulationStation used for the interface and Retroarch to keep track of the controls and emulators, along with various third party emulators doing the hard work of bringing these dusty old games into the 21st century. RetroPie also importantly allowed installation of Kodi as one of the additional applications.
So now the hard work began.
As well as my Pi starter kit (a Christmas gift from my awesome other half, which included the Pi3 board, power, case and 16GB SD card) I’d purchased a wireless keyboard and mouse, which proved invaluable during set-up and testing. As the Pi version 3 also supports bluetooth – and RetroPie allows use of various third party joypads – I popped down the local CeX and invested in a second-hand Playstation 3 wireless controller for around £20.
I flashed the RetroPie image onto the SD card using Etcher and threw this into my Pi case, I followed the installation wizard and installed the OS quickly and easily. The system booted perfectly first time and I could navigate around the menus using my keyboard. The guide on their site covers the basics like connecting to wifi, setting up your controllers, transferring game roms, etc. So far, so straightforward.
Using my wireless Playstation controller was also fairly simple, though it did take a little extra work to get it up and running, as the controller doesn’t use Bluetooth in a standard way. It requires installation of a driver from the packages menu within set-up, but this is nicely covered again on their wiki and takes just a couple of minutes.
I did hit a couple of snags where I had to go digging online, however.
I quickly noticed that the HDMI output from the Pi wasn’t always present and I had to reboot to restore it. After experimenting, I found that if the television wasn’t turned on at the point that RetroPie initialises, it doesn’t enable HDMI. I found a solution to this fairly quickly however, and adjusting the boot partition config.txt file to uncomment out the line below resolved it by forcing the Pi to send HDMI output regardless of whether it detects it from the TV:
hdmi_force_unplug=1
This had the side effect of setting the screen resolution back to a low default setting, but I simply needed to go into raspi-config from the RetroPie menu, into Advanced Options and then set the screen resolution to the highest value for the TV.
A second issue I found was that audio didn’t always work in the emulators. Sound always worked fine for N64 games, but not for other consoles. Again, there’s lots of information online if you get stuck, and this particular issue was once again related to me using the Pi over HDMI. Within the RetroPie settings, I simply used the “Configure Audio Settings†option to force the audio out over HDMI.
Another piece of good advice I can pass on is to ensure that you update the operating system and packages before getting started, as this resolved a couple of small issues I had with certain game ROMs without any investigation required by me.
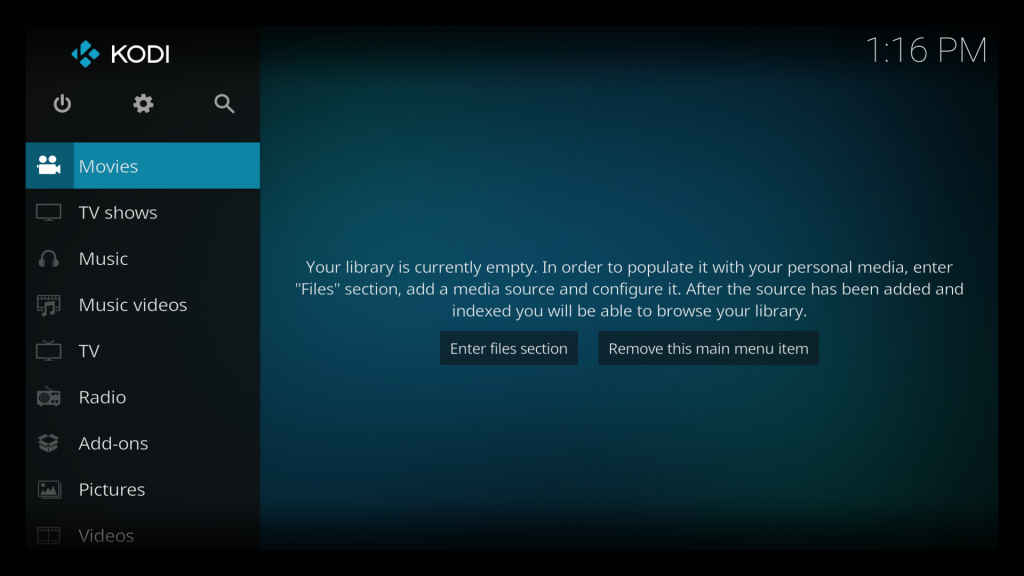
The final piece of the puzzle was Kodi, which can be installed from the Optional Packages menu in the RetroPie setup. Whilst this is fairly simple to use with the PS3 controllers (or even the keyboard) I’d become far too accustomed to using Kodi with a basic TV style remote and wanted to continue doing so.
I looked at infrared receivers, so that I could use an existing handset, but most receivers were around £20-25 online and this meant that I’d still be relying on line-of-sight to the Pi, which isn’t ideal. In addition, the USB ports on the Pi arent really in an ideal location for this.
 Instead I went with a basic wireless remote with USB receiver I found on eBay for around £8. This almost worked out of the box, but some of the keys weren’t quite mapped correctly (the back key seemed to hit escape instead, so I got dumped back onto the Kodi homepage rather than going up a folder, and only the volume up key worked, not the down).
Remapping keys used to be a fairly fiddly business of adding custom XML configuration files, but the official Keymap Editor addon now makes this a breeze. Install and launch it, find the function which isn’t working in the list, hit the key on the remote you want to use to control this function and save.
As I would be using Kodi 90% of the time, the final step was to adjust the autostart behaviour to start Kodi at boot instead. Should I wish to do some retro gaming, I simply turn on my PS3 controller, exit Kodi and EmulationStation then automatically starts up for me.
Whilst I may have had a couple of hiccups, most of the issues I experienced were more a result of the infinate combinations of hardware which can be used with the Raspberry Pi rather than anything wrong with the Pi or OS itself, but perhaps the HDMI detection could be slightly better in RetroPie, given how many people will be using this on their TV.
And what about performance? Well, the old Android Kodi box was using around 400-500MB of RAM just sitting around doing nothing, which is utterly ridiculous. The Raspberry Pi uses just 50MB as you’d expect.
The total cost for the Pi starter kit, controller and remote came to just over £70, and for what I’ve ended up with that seems like an absolute bargain.
One Comment
there are prebuilt “roms” for retropie that include retropie and a custom menu and a whole bunch of roms all set up, you basically just have to install the controller and that’s pretty much it. i assume you can add Kodi to it on top afterwards. gaming on the pi is a bit annoying though as sometimes the controller lag makes it tricky to play some games. the remote is a nice touch, although i think i’d prefer the ones with the keyboard so it makes typing in names a lot more easier